Introduction,
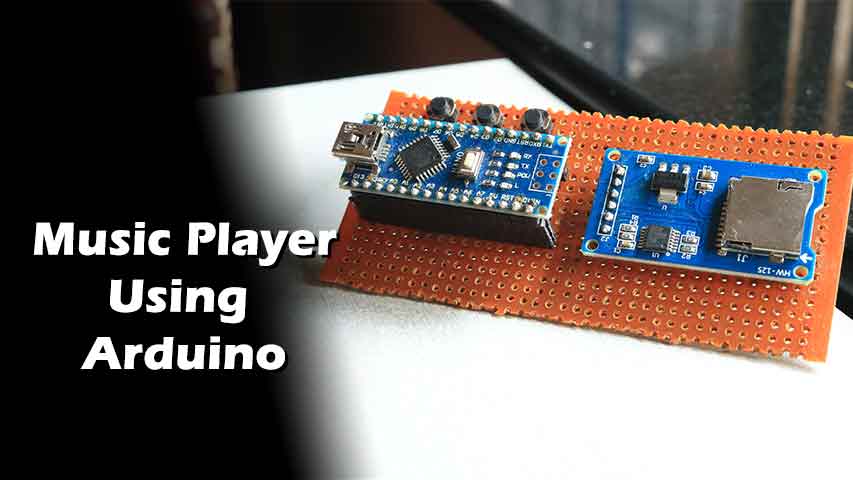
Arduino Music Player is a simple and fun Arduino project which can be build in 10–15 minutes. Once we have the hardware. The project is very simple. An Arduino audio player that plays “.wav” files. It consists of a speaker, a amplifier, and a micro-SD card adapter for a micro-SD card that holds the .wav files.
Materials & supplies
Parts List:
- Arduino Nano – https://www.banggood.in/custlink/vKvEHt6wPn
- SD Card Module – https://www.banggood.in/custlink/DvDEV501SD
- Speakers – https://www.banggood.in/custlink/GDKd5FefZY
Tools:
Arduino Library:
Additionally we need and Arduino library, In Arduino IDE, go to Tools Manage Libraries, and search for “TMRpcm” and click on install.
Schematic & Code
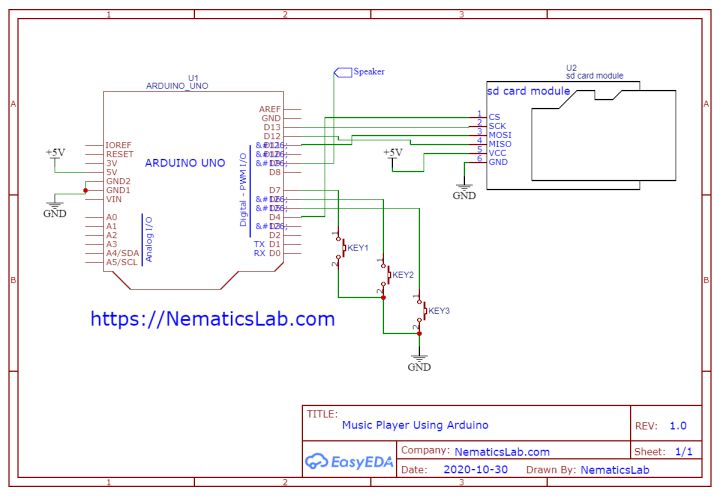
Implementation:
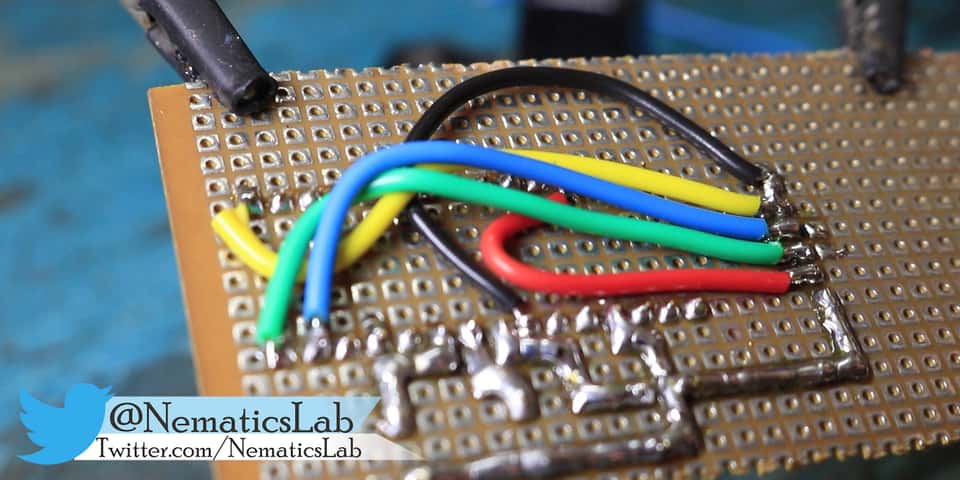
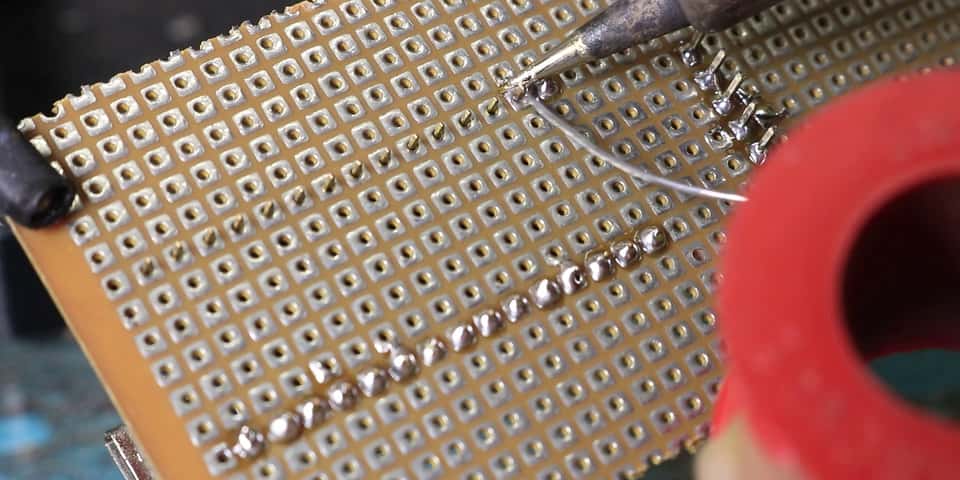
Firstly, solder all parts as shown about in the circuit diagram. The SD card Module in the circuit shown above loads the .wav files. From the micro-SD card. Which is interfaced with arduino using SPI protocol.
Secondly the arduino processes the information on SD card and generates the signal and outputs it through the speaker connected to digital pin 9 on ARDUINO NANO & UNO. Also Digital pin 5,6,11 or 46 on Arduino Mega, This allows the speaker to create sounds and play Audio.
Converting Music Files
Now we need to convert music into desirable format. Accordingly the WAV files used in this circuit have a slight limitation in playing audio. Since a Arduino is used, it cannot read complex .wav files. Therefore, the .wav files should be converted to have these dimensions:
- Samples Per second (Hz): 16000
- Channel: Mono
- Bits Per Sample: 8
- PCM format: PCM unsigned 8-bit
Therefore to convert the Music into desirable formant we will use this website – https://audio.online-convert.com/convert-to-wav
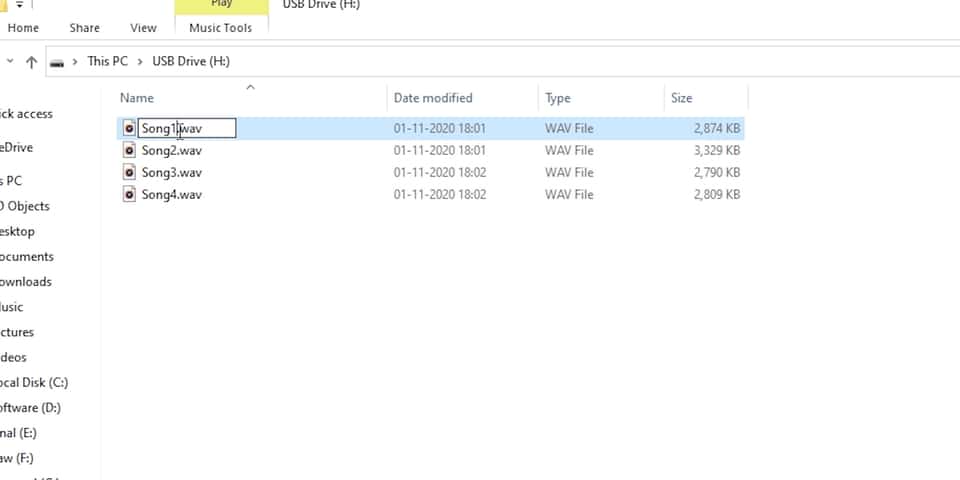
Once, the conversion is done rename the songs as song1, song2, song3 etc.
Also don’t forget to, format the microSD Card as FAT using any formatting software like SD Memory Card Formatter and copy all the WAV audio files to the card.
By default, the first song (i.e. song1.wav) will play automatically once the Arduino is reset. We can use the Play / Pause Button to well, play or pause the current track. Use Next Button to play the next track and Prev Button to play the previous track.
with that being done you have your own Arduino Based Music Player.

