Introduction,
In this tutorial I’ll show you how you can me Neo Pixel RGB shoes using an simple spring sensor and a arduino, so without nay further a do let’s get started making Neo Pixel RGB shoes!
Before we start Let’s start with everything you need to build one. You can get all of them easily online I have put all the buying links below.
Supplies,
Materials:
- Vibration Sensor Module (I am using is a DIY version You can check my previous post for that Here)
- Arduino Nano
- WS2812B Neopixel LEDs
Tools:
Code:


Getting started
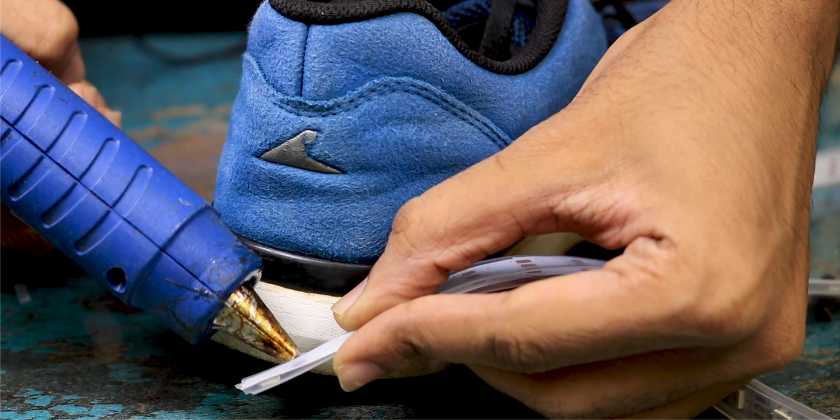
Once you have all the material. We can start building firstly I took the shoes and started measuring out how much LEDs I can fit around the shoe. For me it was 44 LEDs. So I cut the 2 pairs of LED strip each with 44 LEDs. Now using some hot glue I glued them around the shoe. Make sure you start from behind so we can connect wires later on.
Electronics
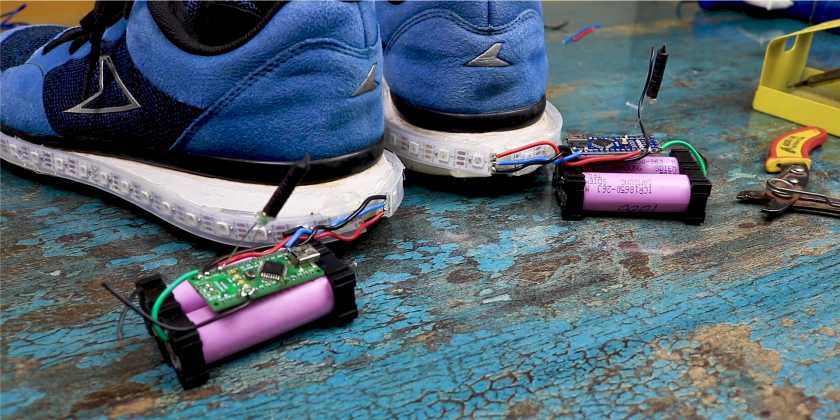
After gluing them around It was time to work on some Electronics. I took two 18650 Li-ion cells and placed them in tiny black spacer which are optional. You can also use some tape to hold them together. These cells are 4.2V each so Now we will connect them in series to form 8.4 volt battery. For which I used soldering Iron and nickel strip. You can also solder a small piece of wire, now connect the +ve end of the battery to Vin pin and –Ve end of the battery to GND of Arduino. This will directly power the Arduino using batteries, At the moment I don’t have a switch. So I just cut of Ground cable and later I’ll just twist the wires.


Soldering
Once that is done, I took the vibration sensor and soldered one of its lead to 5V and other to Digital Pin 2 of Arduino. After which connect 5V to 5V, GND to GND and Din pin of LEDs to D13 of Arduino. Similarly, I repeated this process for other shoe and that’s all with the electronics.
Now it’s time for uploading the code to our Arduino while uploading the code just change this line of code, and enter the number of LEDs You have on your shoes for me it’s 44 LEDs, so just change that and upload the code to both the Arduino!


Coding
After successful uploading of code if I give a small tap to the sensor just to make sure it works and as you can see it works flawlessly. Now I will use some hot glue to fix the Arduino on the batteries and then using some double side tape I fixed the batteries behind the shoes and this project was complete!
So that’s pretty much it for this project guys. I hope you enjoyed it and don’t forget to like share and subscribe, and I’ll see you in guys in the next one!