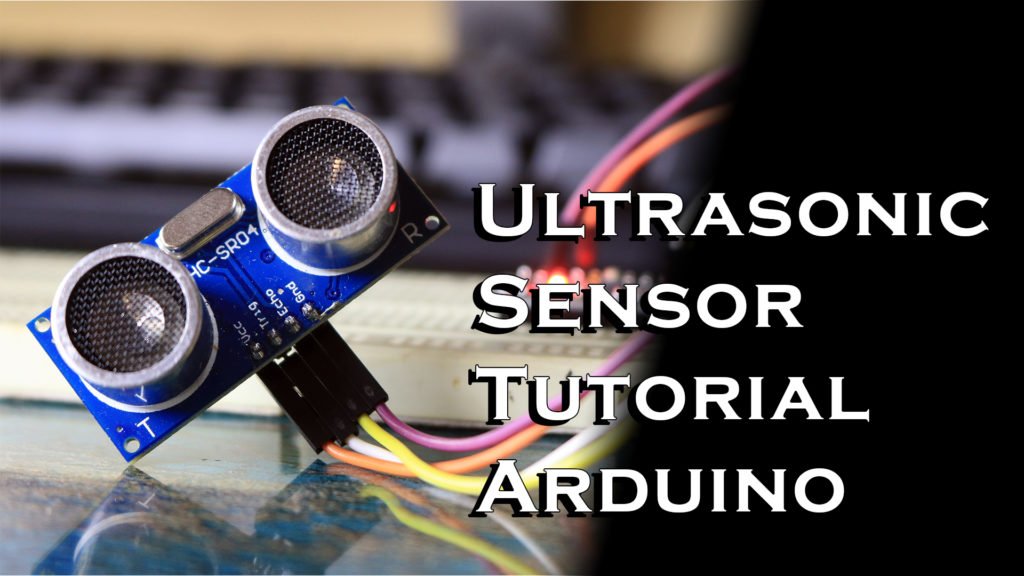
Introduction,
When it comes to measuring distance or detecting an object. Let’s say in front of a car. Ultrasonic sensors are widely used in such application. So in this Tutorial we will learn how a Ultrasonic Sensor works and how you can use it with the your Arduino. So Let’s see how to use it!
Everything we need,
Materials:
Tools:
What is ultrasonic Sensor?
Ultrasonic sensor is electronic device which is used to measure the distance of a target. By emitting ultrasonic sound waves, and it converts the reflected sound into an electrical signal. Ultrasonic waves produced by this sensor have frequency of 40KHz, and we humans can only hear sound in the range of 20-20KHz hence it’s not audible.
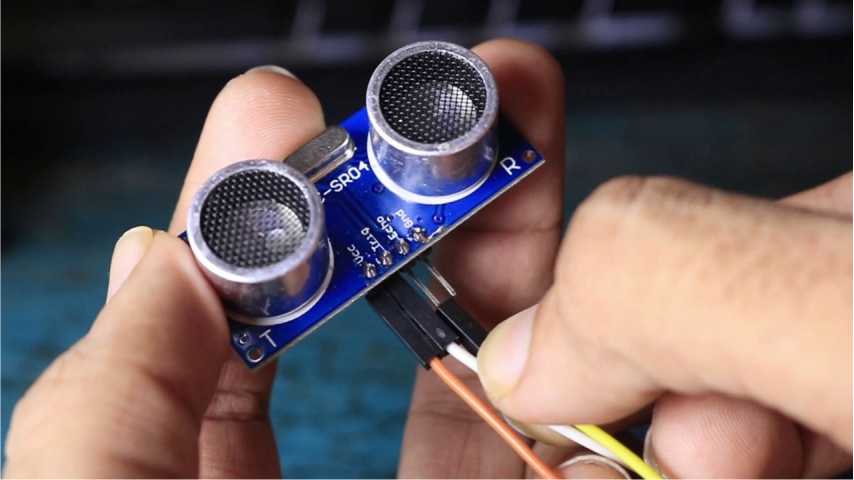
To understand it better Ultrasonic sensors have two main components. The transmitter and receiver, as you can observer this ultrasonic sensor has two cylinders. Which are nothing but our Ultrasonic transmitter and the receiver.
If I point the sensor toward an object, first transmitter will send the ultrasonic sound waves which will travel towards the object. After hitting the object those waves will reflect back and we will get output on our receiver.
In order to calculate the distance between the sensor and the object. The sensor measures the time it takes between the emission of the ultrasound by the transmitter to the Receiver
The formula for calculation,
D=1/2*T*C
where,
- D – Distance,
- T – time
- C is – Speed of sound ~ 343 meters/second.
For example, if we setup sensor aimed at an object and it took 0.0025 seconds for the sound to bounce back. The distance between the ultrasonic sensor and the object is given by,
D= 1/2*T*C = 0.5*0.0025*343 = 0.42875 meters
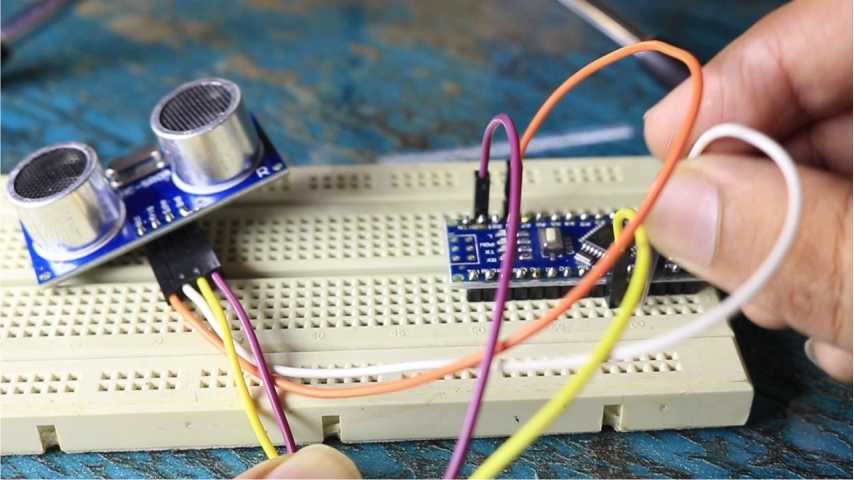
But lucky we don’t have to do the calculations manually every time. For that we can use Arduino, ultrasonic sensor has 4 pins Vcc, GND, Echo, and trigger.
Connections for arduino are as follows,
- Vcc to 5V
- GND to GND
- Echo to Digital Pin 7
- Trigger to Digital Pin 8
Every time echo pin of Sensor is pulled high. For 10us sensor, Sensor will send out an 8 cycle of ultrasound. When we receive the signal back we will get output at the Echo pin, and that will be the time taken in microseconds.
So using this I wrote this code which measures the distance using and Arduino and ultrasonic sensor.
Code,
/*
* Ultrasonic Sensor HC-SR04 and Arduino Tutorial
*
* by Nematic!
* www.YouTube.com/NematicsLab
*
*/
// defines pins numbers
const int trigPin = 7;
const int echoPin = 8;
// defines variables
long duration;
int distance;

void setup() {
pinMode(trigPin, OUTPUT); // Sets the trigPin as an Output
pinMode(echoPin, INPUT); // Sets the echoPin as an Input
digitalWrite(trigPin,LOW);
Serial.begin(9600); // Starts the serial communication
}
void loop() {
digitalWrite(trigPin, HIGH);// Sets the trigPin on HIGH state for 10 micro seconds
delayMicroseconds(10);
digitalWrite(trigPin, LOW);
duration = pulseIn(echoPin, HIGH); // Reads the echoPin, returns the time in microseconds
distance= duration*0.034/2;
Serial.print("Distance: ");
Serial.println(distance);
}
So that pretty much it for this tutorial. If you enjoyed this article you might like this one Don’t forget to Like share and subscribe, and I see you guys in the next one


