Introduction,
In this tutorial, I’ll show you how you can install ESP8266 boards on your Arduino IDE.
The ESP8266 has created an plugin for Arduino IDE. That allows us to program the ESP8266 using the Arduino IDE
This method works with any Arduino IDE whether you’re using Windows, Mac OS X or Linux.
Background Check
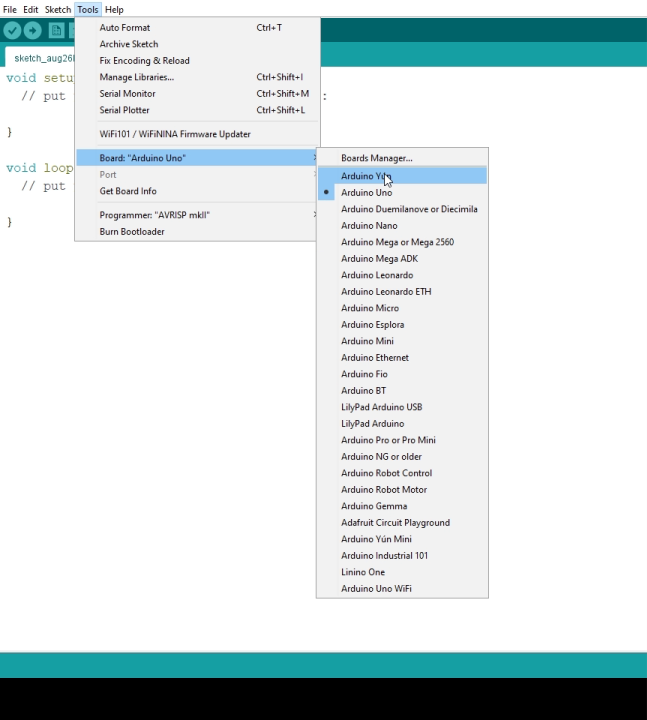
So the when you just install your Arduino IDE by default ESP8266 boards are not installed so if you go the tools > select boards you will see you cannot find ESP8266 boards over here. And even if you go to Board manager and search for ESp8266 Boards it wont show up.
Step 1: Adding Links to ESP Boards
So to install the ESP8266 Boards all you have to do is,
- Go to files > Preferences and it will open up a new window.

- Now you will see a box which says Additional boards manger URLs.
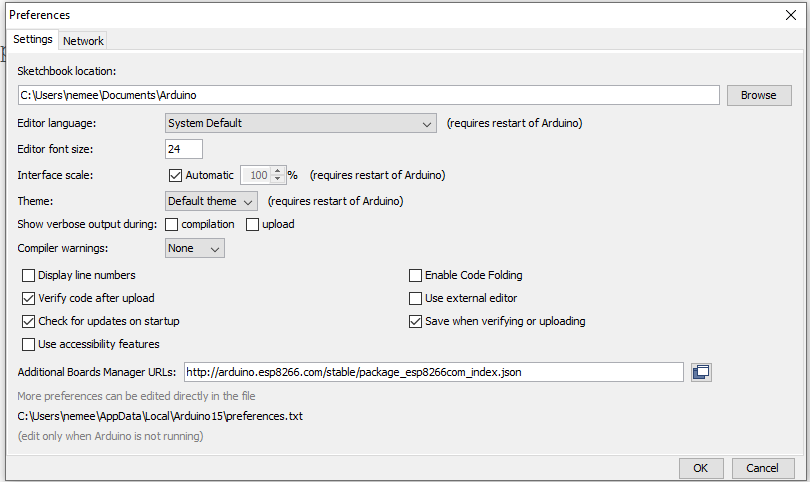
- In that all you have to do is type this link.
For ESP8266
http://arduino.esp8266.com/stable/package_esp8266com_index.jsonFor ESP32
https://dl.espressif.com/dl/package_esp32_index.jsonOnce that is done. Click on apply and you are done!
Step 2: Install ESP8266 Boards
Now once again
- Go to tools > boards and click on board manager
- And now if you search for ESP8266 it will show up
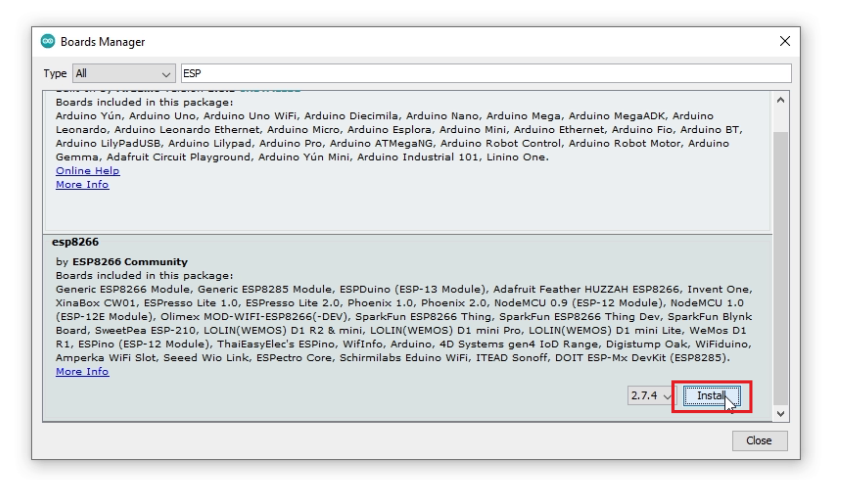
ESP8266 by ESP8266 Community.
So click on install, this download might take 5-10 mins depending on your internet speeds so be sit back and relax.
Step 3: Testing
Once the download is complete now if you go to boards you can see all the different ESP8266 based boards.

So thats pretty much it for this tutorial guys, I hope you enjoyed. You can also checkout this awesome tutorial on Home automation