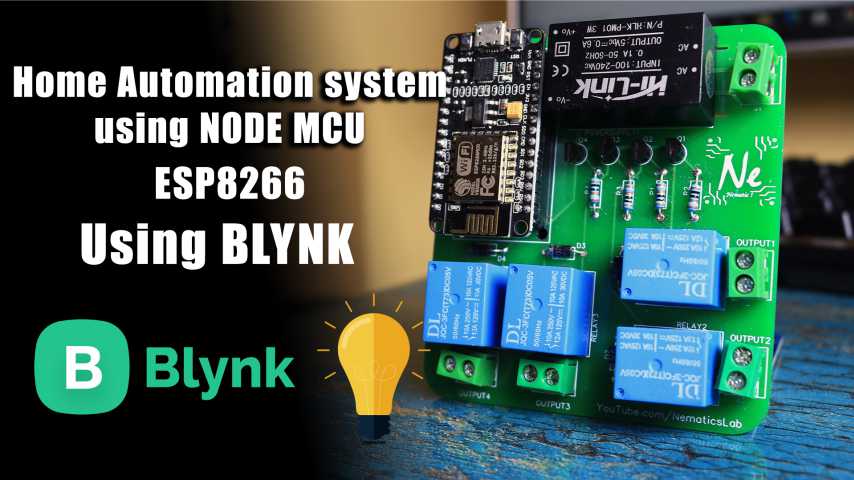
Introduction
In this tutorial you will learn how to make simple home automation system using blynk environment and NodeMCU (ESP8266). So without any further a do lets get started!
Materials & supplies
Part List:
Tools:
Schematic
Step 1: Choosing a Microcontroller

For making a Home automation system first thing we need is a microcontroller. But we can’t use any regular Arduino microcontroller because they don’t have Internet connectivity. We need to use something like ESP8266 or ESP32 Microcontroller boards. Since they offer those features. I used an ESP8266 since I had that lying around but you can even use ESP32 or any similar microcontroller.
Step 2: Controlling Mains Voltage

However we cannot control Main Voltage directly using a Microcontroller. We need to use a relay module to ON and Off Mains supply. Now I could have directly hooked these two up but since I’m planning to use them in my house. I decided to Make a small and compact PCB which will be directly operated using Mains voltage. Using this kind of mains to 5V adapter module for powering the microcontroller system.
Step 3: Designing the PCB


So, keeping these things in mind I used Easyeda Online Software and designed this Schematic & PCB.
You can download these from below,
I have also made sure to have High Voltage Isolation slot in the PCB. Where Mains voltage will be connected, this will minimize the interference and risk. After completing the PCB design I exported the Gerber file and uploaded it to www.JLCPCB.com.
Step 4: Soldering the components


Once I had my PCBs with me it was time to solder all the components as per the schematic.
Step 5: Installing and setting up Blynk
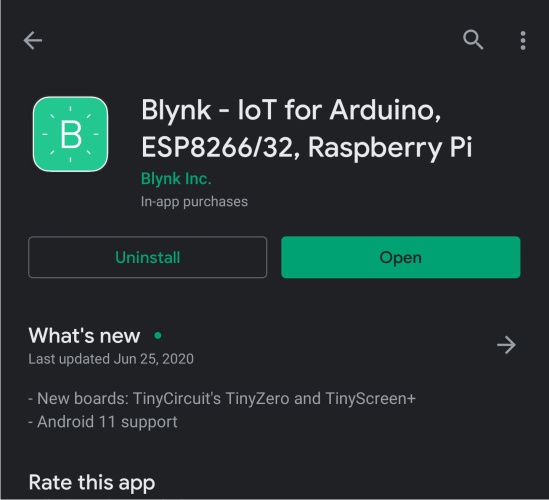


After finishing the soldering, it was time to insert the ESP8266 Microcont roller and program it. For programming, First you need to install Blynk application on your smartphone you can download it for free from Playstore. After login, create a new project and select Device as the microcontroller you are using. I’m using Node MCU which is one of the ESP8266 boards available. And also don’t forget to select Connection as WIFI and name the project whatever you want.
Once that is done you will see a pop up which says an authentication token was sent to your Email address. Which we will used later during programming.
Now select on this play icon and add 4 buttons, and after that go inside all of them individually and select the output. Pin as D0, D1, D2 & D3 respectively and that all we have to do for the interface.
Step 6: Programming


Now open the Program I have given below.
And in the program, Your SSID add your WIFI Name, and Password below that. After which go to the email in which you have received you authentication token. And copy that and paste it on this line of code.
Now all you have to do is compile and upload the code!