
Introduction
We use LED lights almost everywhere to light up the space or a room. But sometimes, we find it difficult to deal with the brightness in the night time. So, in this project, we will see how to make a LED dimmer using IC555. We can acheived control over brightness of these LED lights according to the surroundings. So lets make LED Dimmer
Everything we need,
Part List:
Tools:
Schematics & Gerber File,
Step 1: Acquiring the components

We need to have a LED strip as a basic component. We can also add buck converter to lower the voltage. Although, we might face a problem as the current that can be handled by buck converter is same as current drawn by LED. So, we need to use PWM.
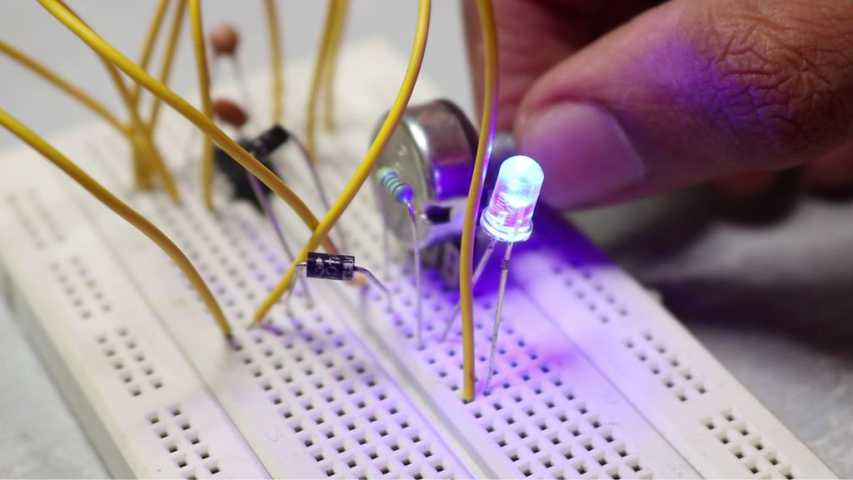
Step 2: Assembling PWM circuit


We can assemble a PWM circuit and decrease the voltage value by 25,50,75% of the original voltage. We can assemble the circuit on the breadboard to see if it works. All we need is IC555, diodes, resistors, and a potentiometer. We can also make a PCB and assemble the components.
Step 3: Additional attachments and final tests

As IC555 can handle a maximum of 200 mA, we need to add additional MOSFET. We will use IRFZ44N Mosfet. After adding MOSFET and connecting the circuit to LED, this project will be complete.


will this work with 3.7v 18650 battery to power 20watt 4v leds
Yes